

HOUDINI CAR SIMULATION
MUSTANG HOUDINI CAR SIM
Brief
This project has you act as a junior VFX artist making a short car shot in Houdini. Using the assets given, you handled the look of the car, the rig, the animation, the lighting, the layout, and the final polish. The result is a 5–10 second clip of a car driving through a muddy forest.
Software
Credits
Animation: Juansebastian Hincapie
Car Model: Wire Wheels Club
Houdini
Nuke
After Effects
TURNTABLES
these two turntables show the car models after adding shaders and lighting in Houdini. The left turntable shows the lighting of every angle of the car. The right turntable shows how the position of the light source effects the car
VARIANTS
COLOR ALTERNITIVES

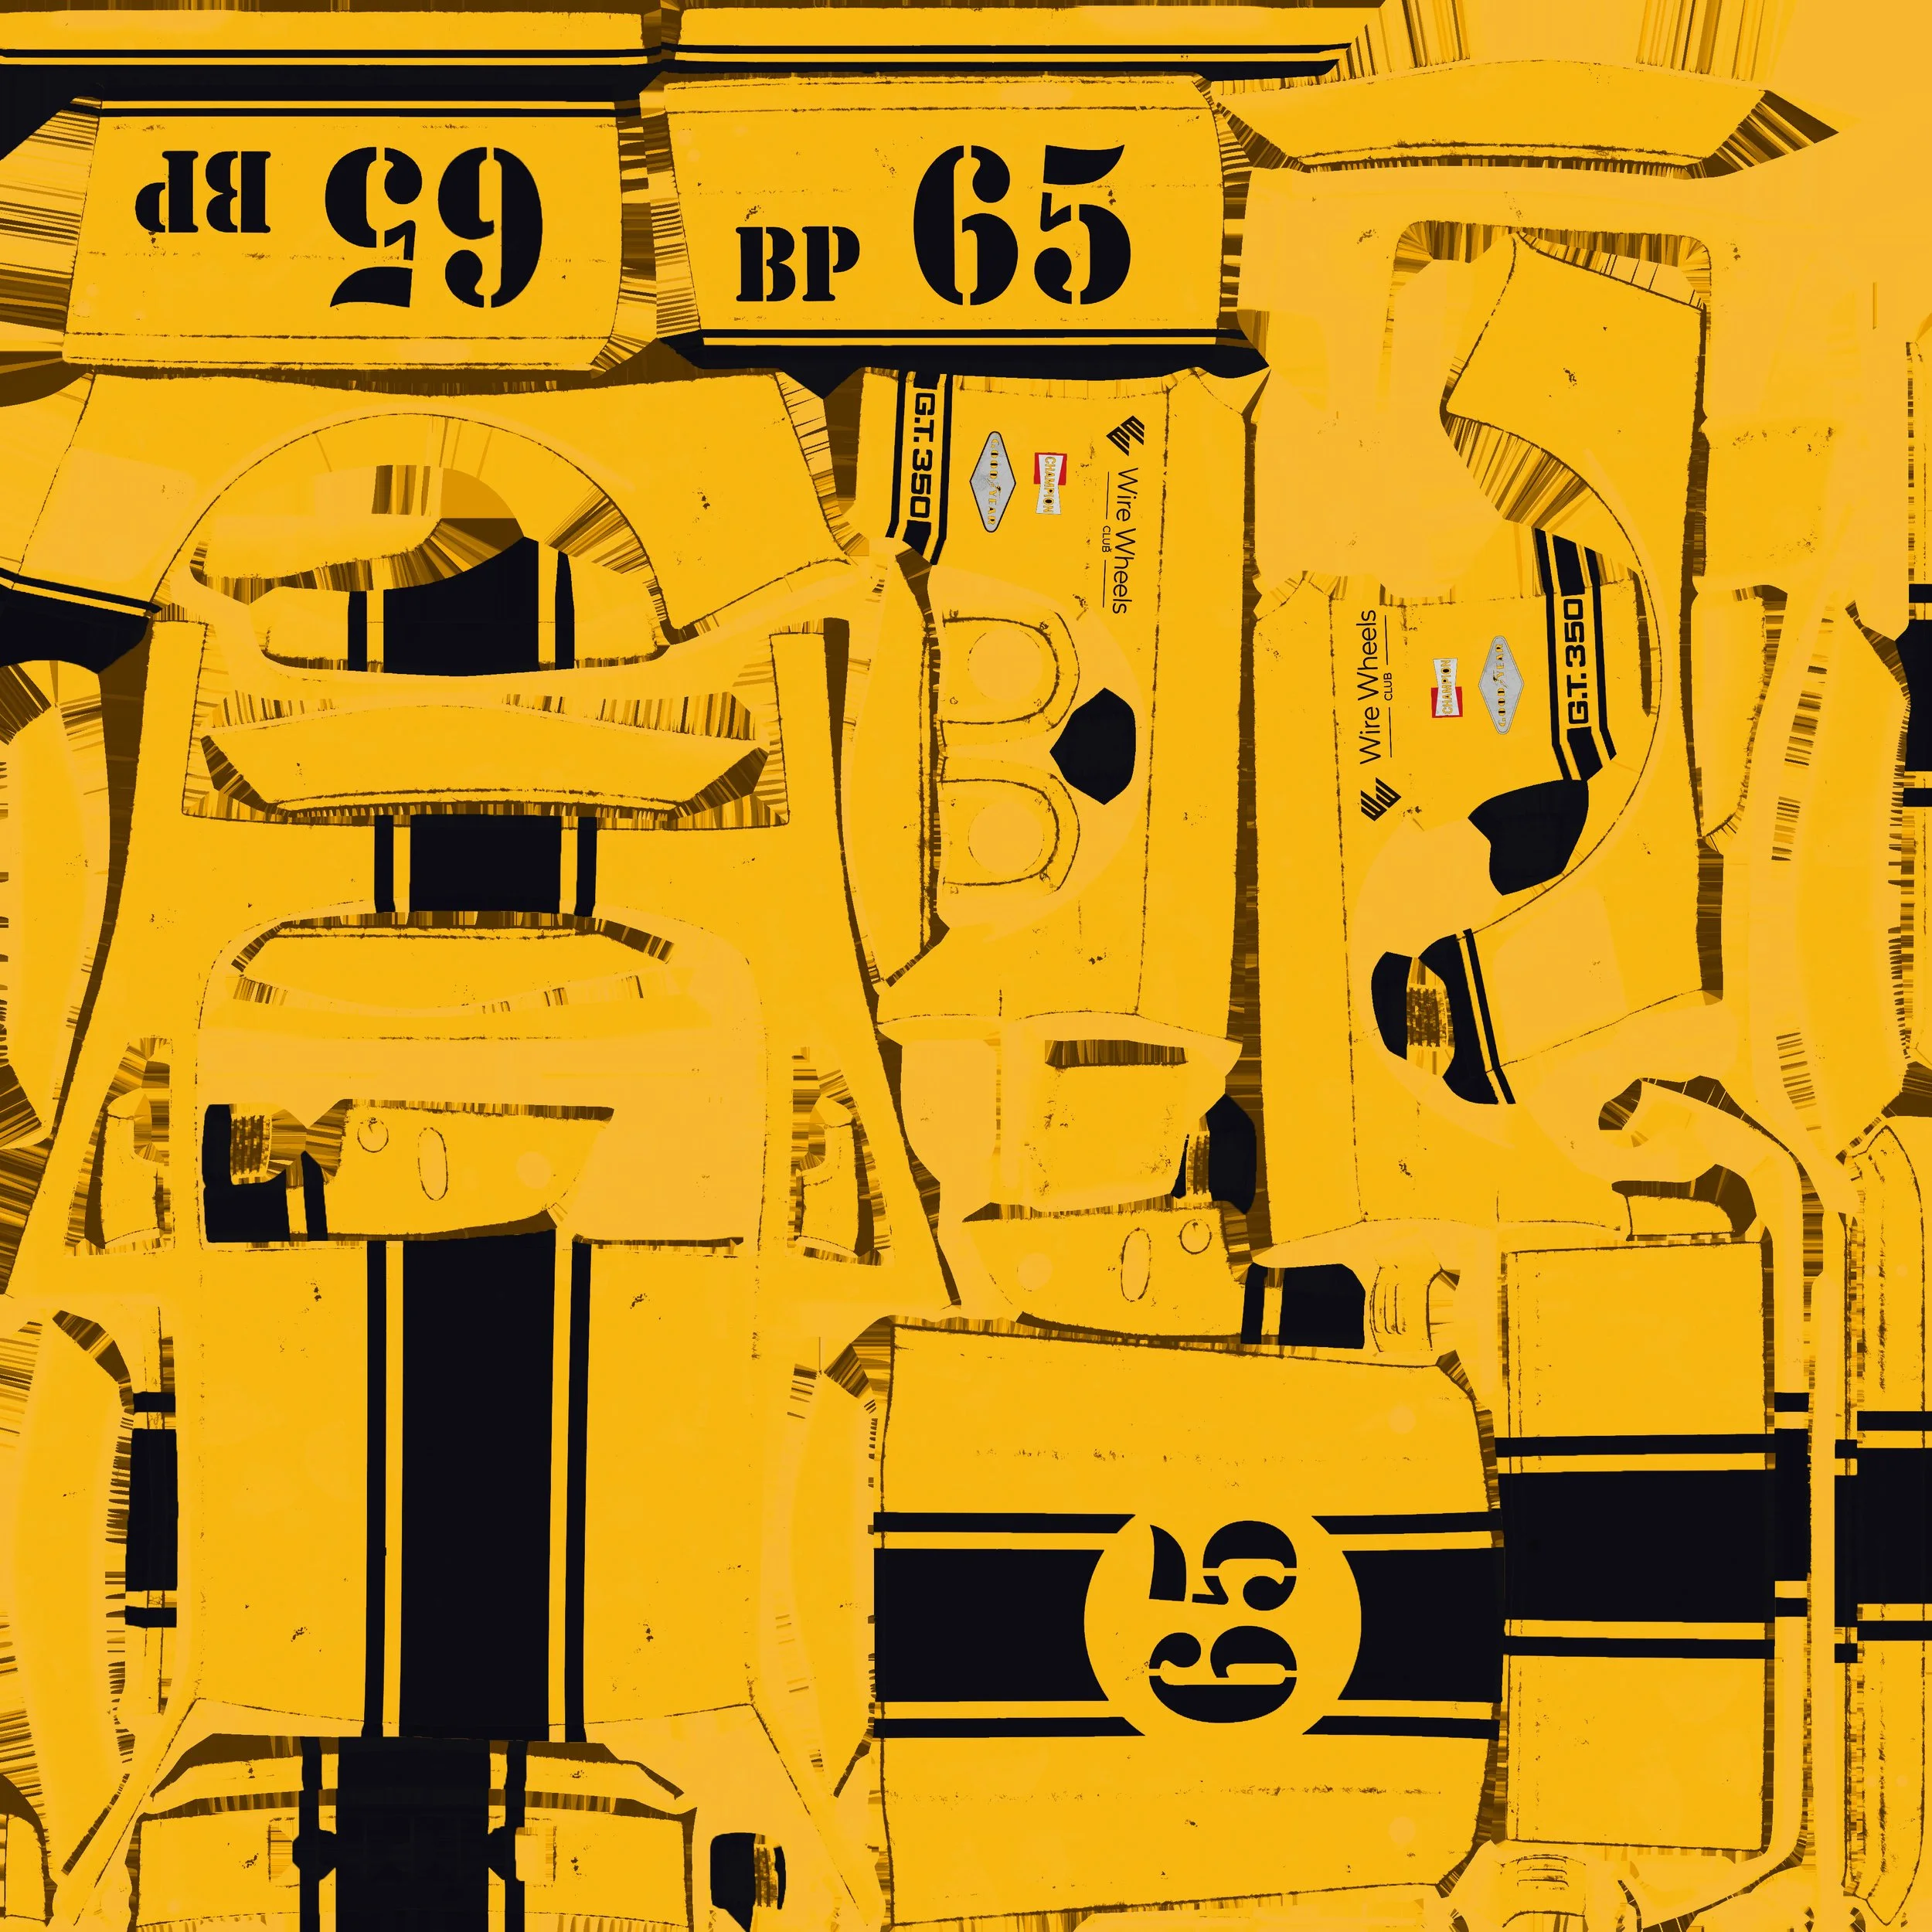
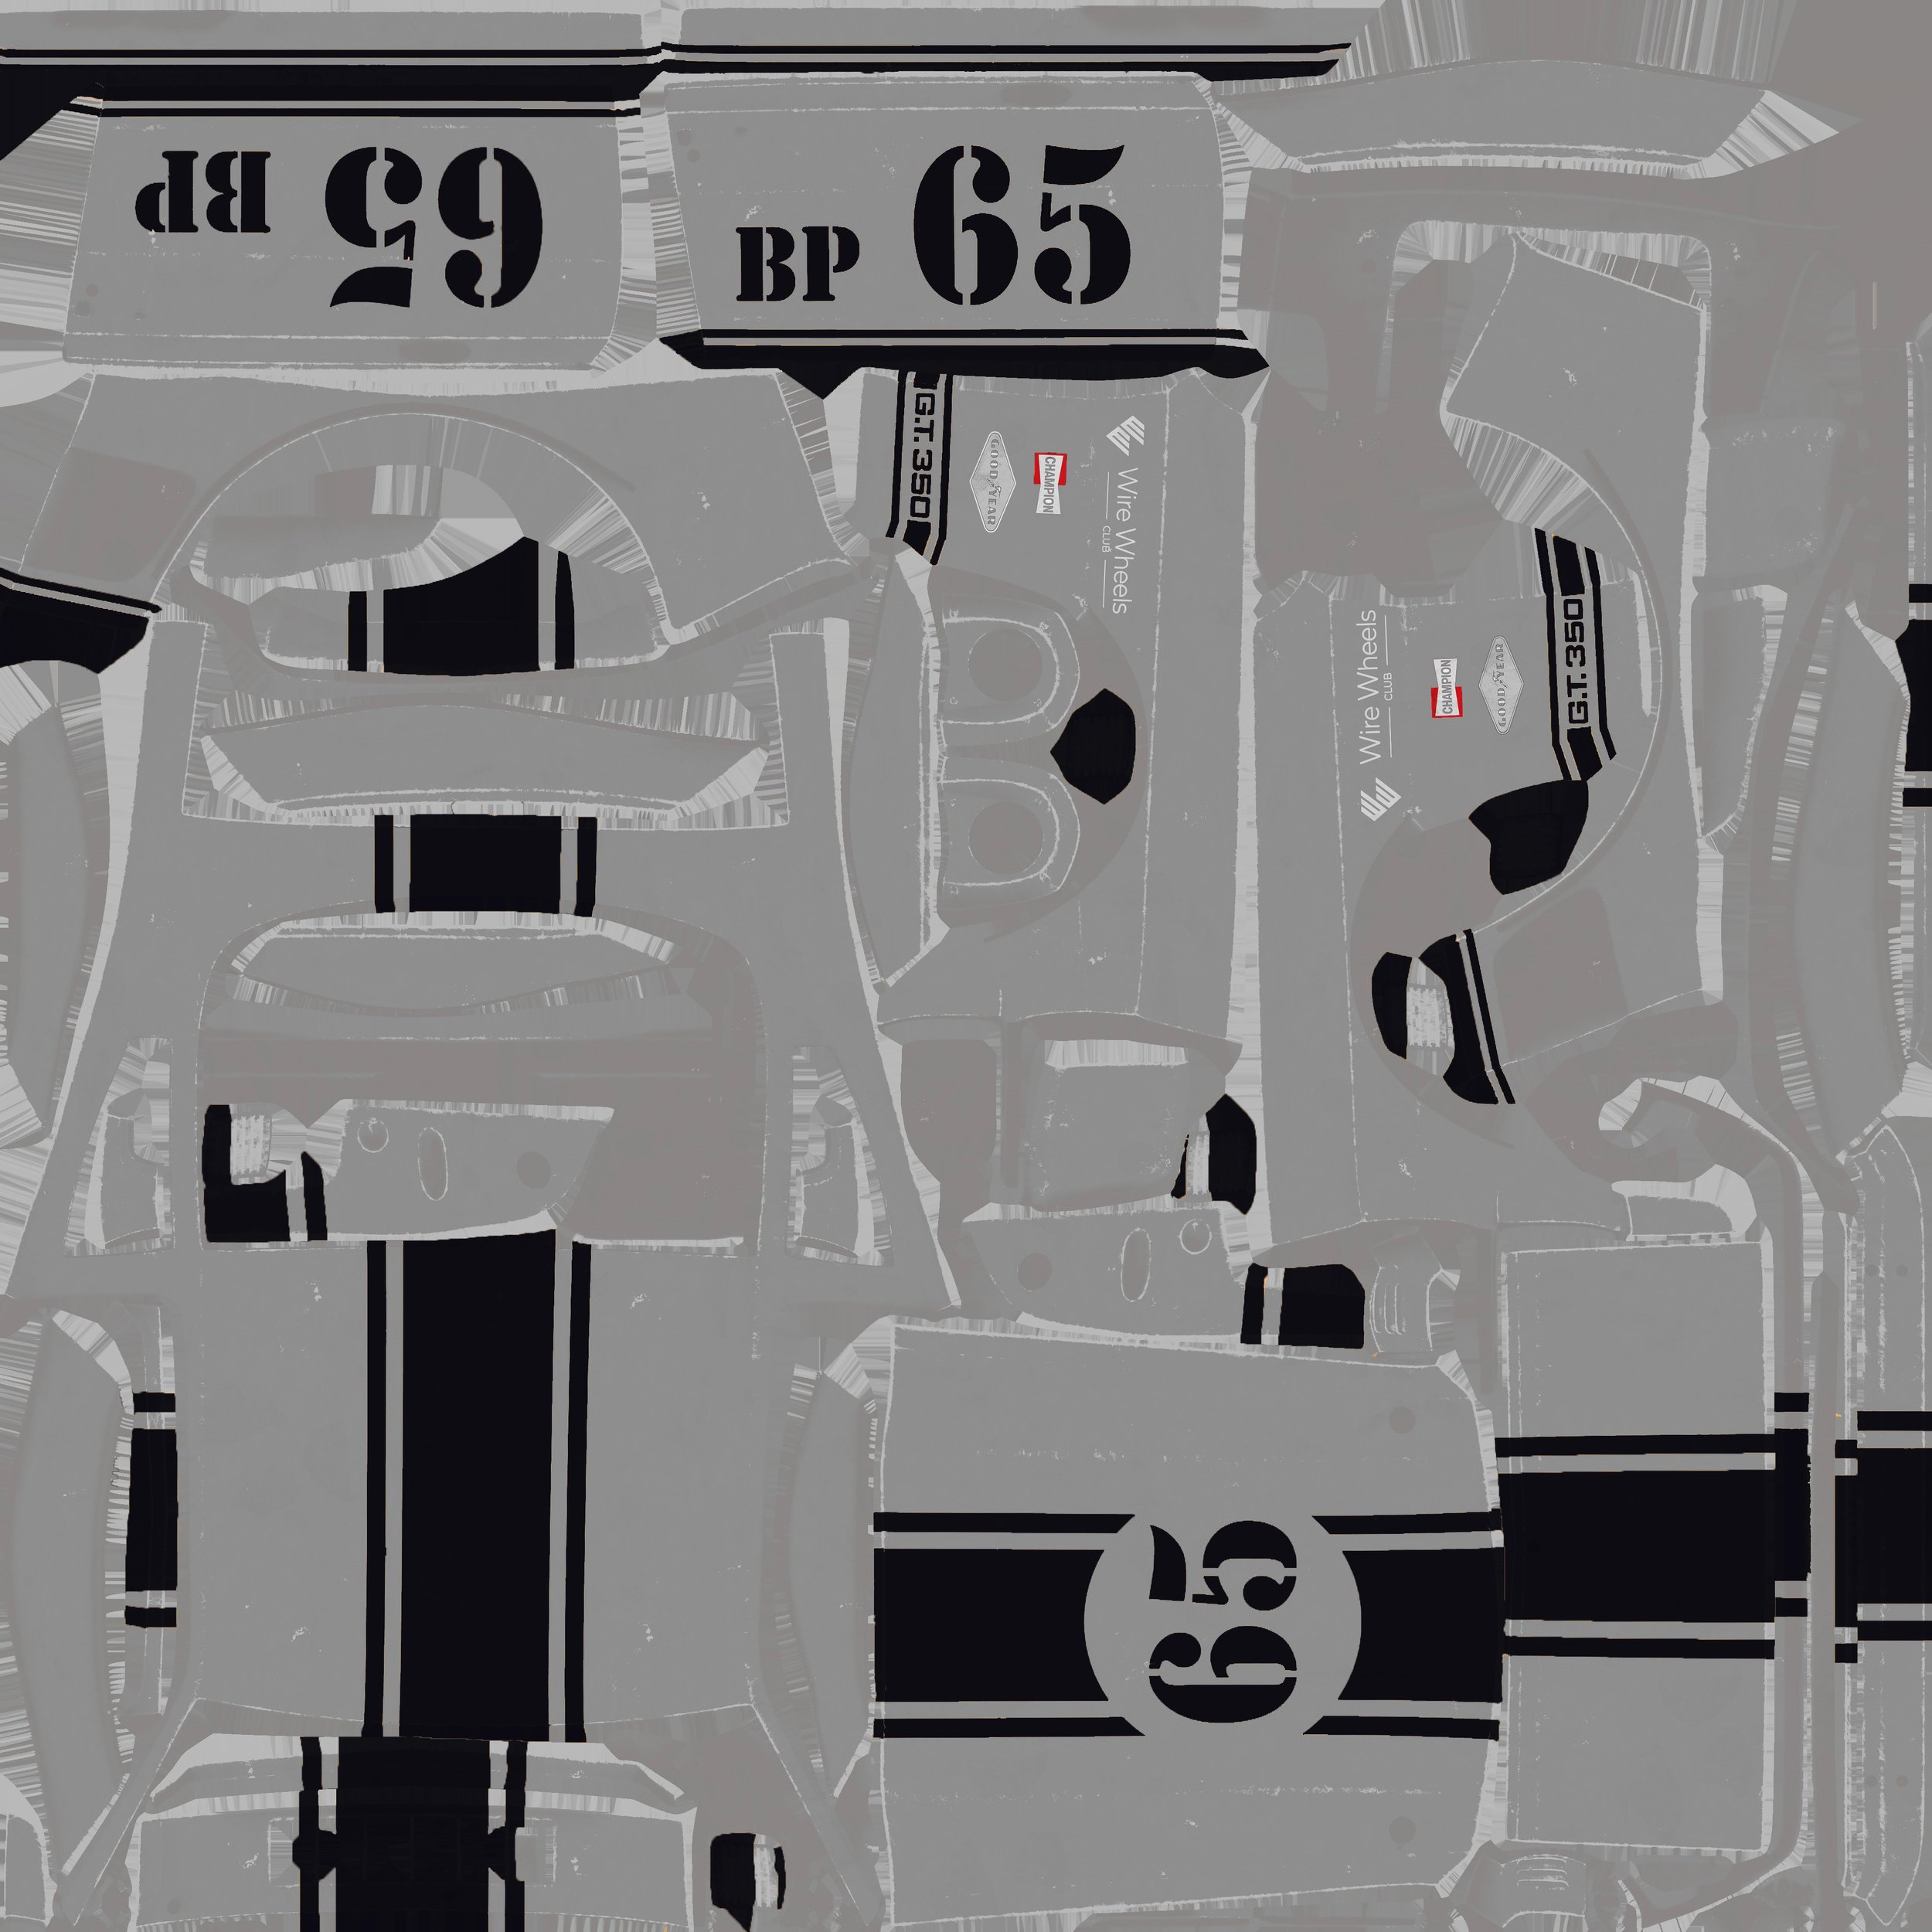
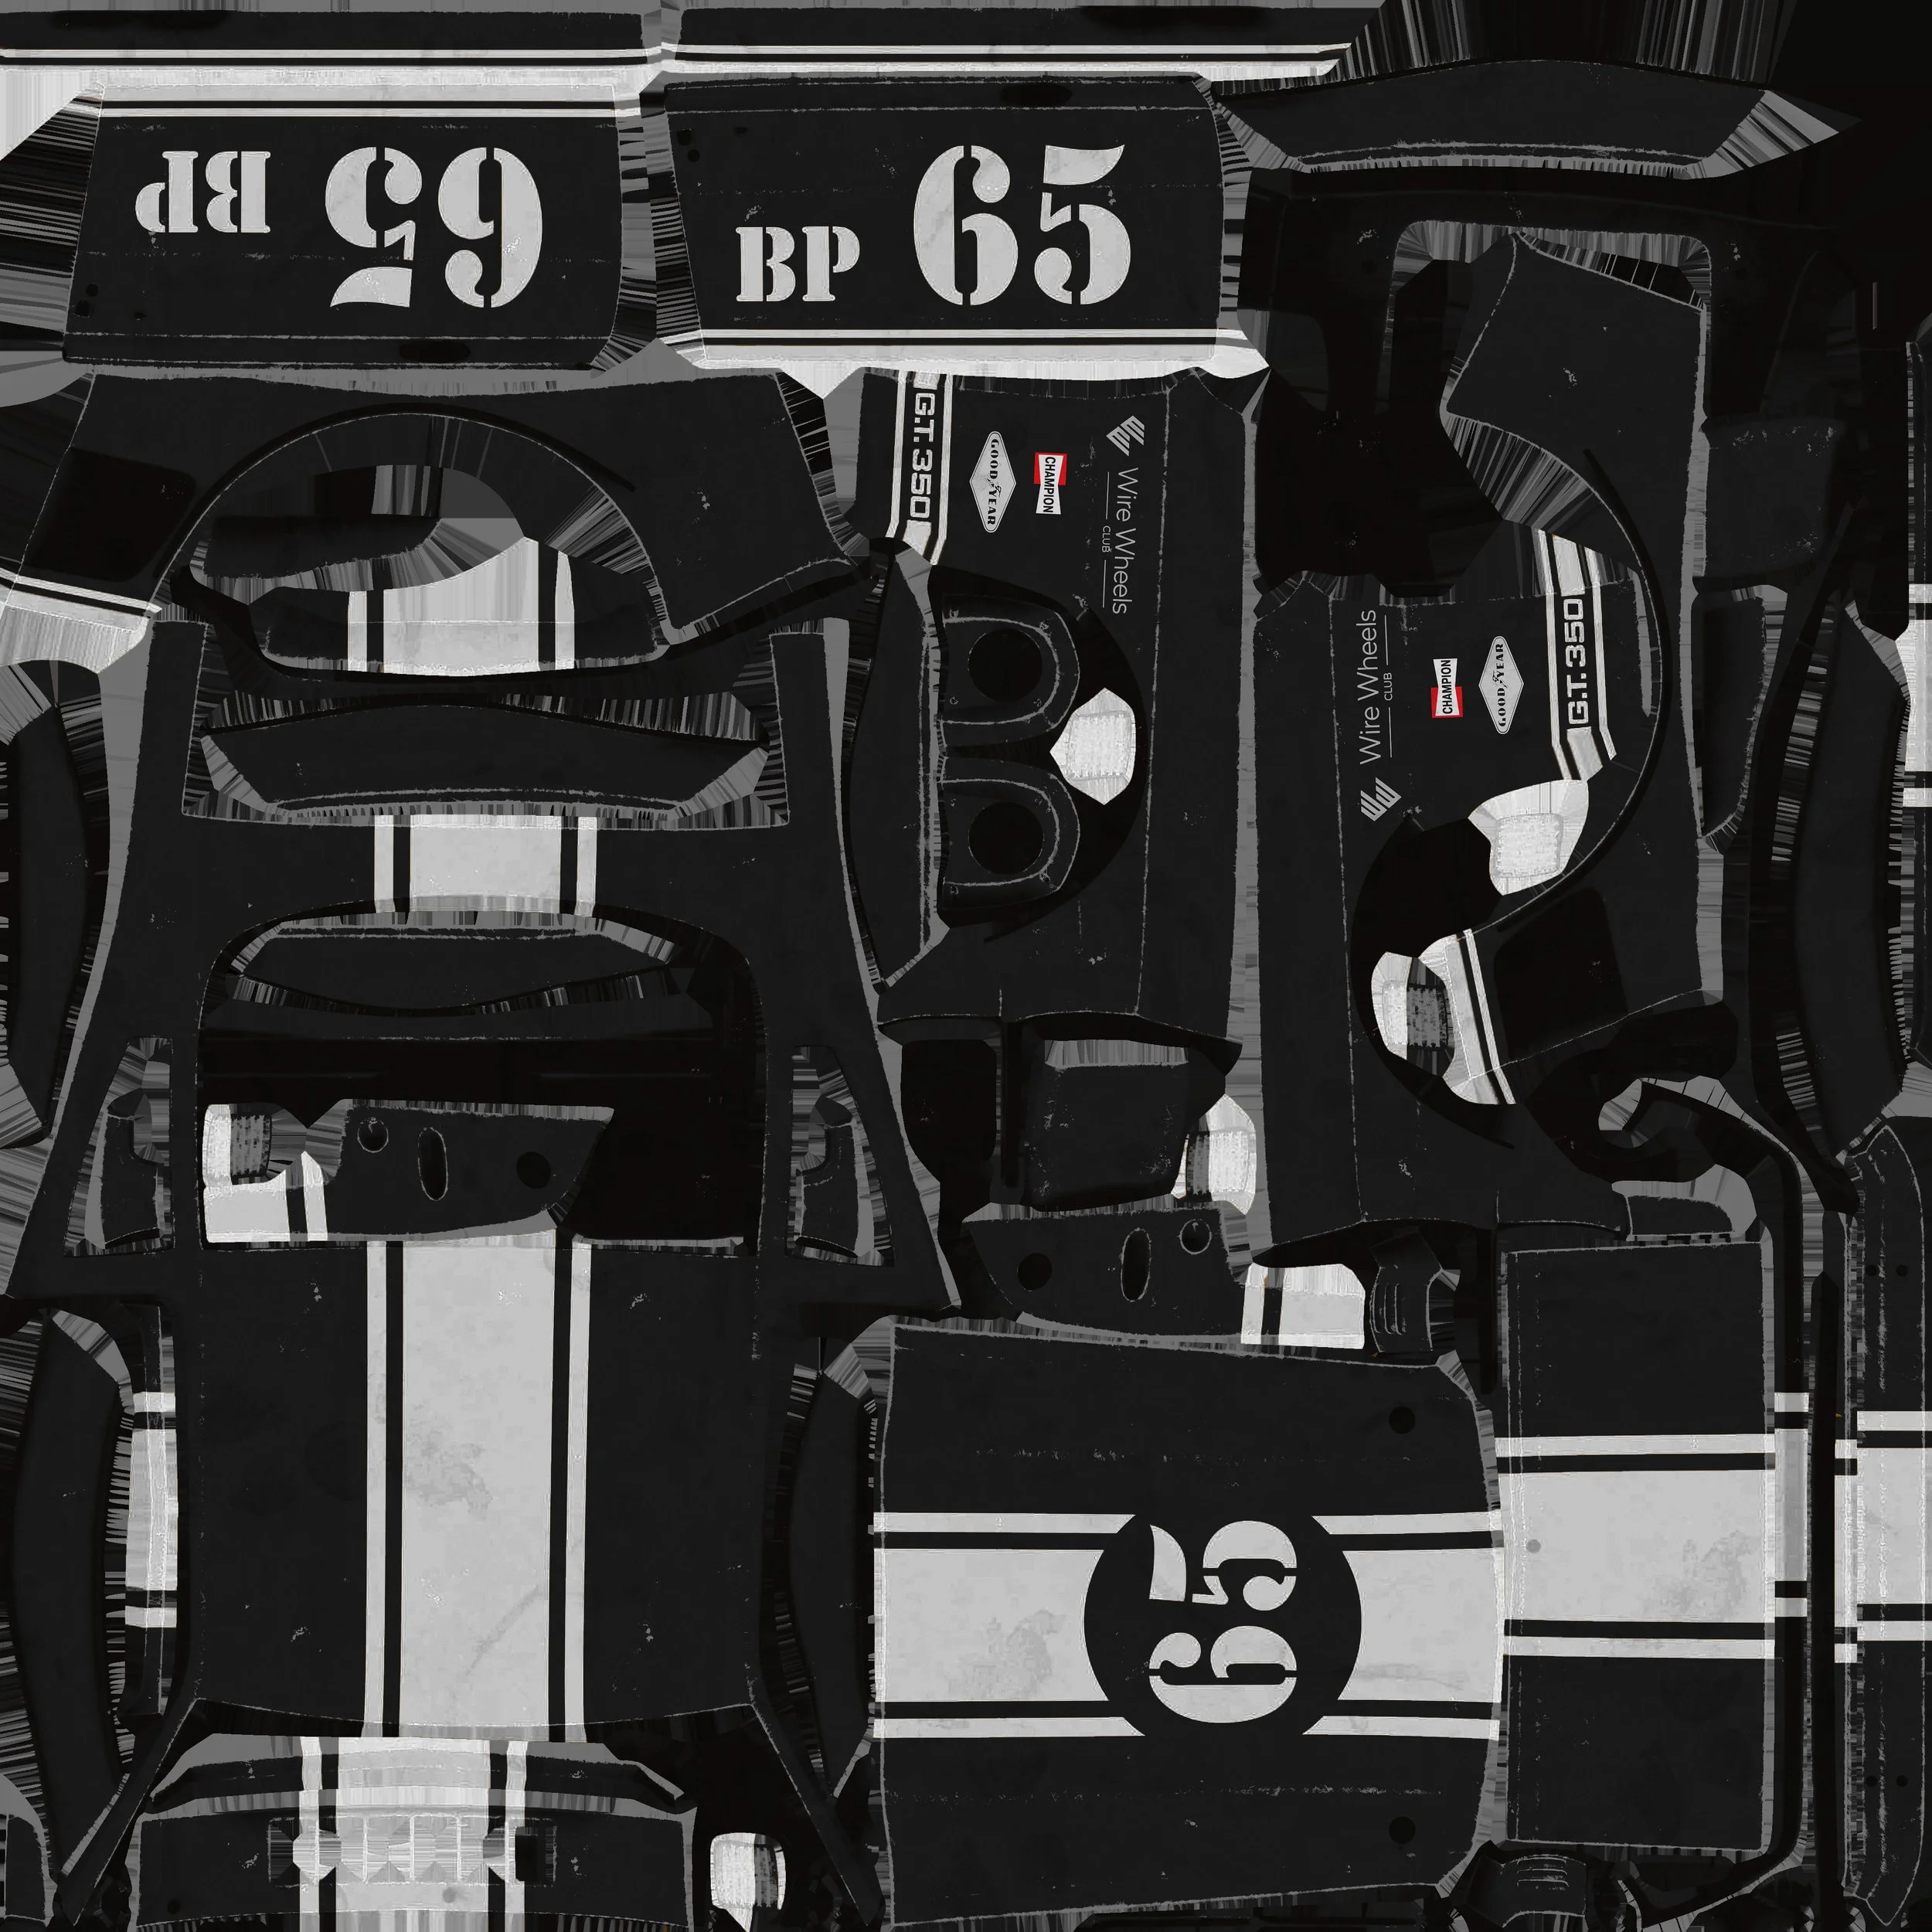
In order to get the custom red and white color scheme that my car was I made multiple variant's of the original car textures (Black and Gold) in photoshop. The color changer built into Houdini changed the values of the textures, knowing this I used the white black varient and made the black a dark red.
At this point we where learning how to use the “Asset Reference” node to create color and light variants and we learned how to set up the system that allows me to switch between them at ease.
CAR RIG
To animate the car, I used the RBD Car Rig node in Houdini. It let me control the steering, speed, brakes, and handbrake so I could make the car move in a more realistic way.
To set up the car’s steering, we first had to separate all the wheels from the car body. I did this using the Split node in Houdini, which isolates the specific parts you select.
Using the RBD Car Rig node I set up I then animated the car the way I wanted. I made sure that the ground affected it with a collider so that as to got to its stopping point it also rocked up according to the ground.
MUD SIMULATION
To set up the mud simulation, I imported my car animation and connected it to the MPM Collider node. After that, I created the caches and combined them to get the final look of the mud effect.
ANIMATION PASSES
1ST PASS
In this first animation pass, we rigged the car so its geometry reacts to the ground and the wheels rotate automatically as it dd moves. We also linked the wheels so they stay synced and turn correctly when the car moves forward.
3RD PASS
In the third and final pass, we set up the lighting, added the trees, and finished the ground textures to make the scene feel more alive and realistic. I also brought the rendered video into Nuke to add final touches like blur and bloom.
2ND PASS
In the second pass, I improved the car animation by creating a cleaner, more polished ending frame and added a mud/water splash simulation. I also built the ground geometry by using a randomize and scatter setup to place small rocks across the surface.
TECHNICAL EXECUTION
VFX BREAKDOWN
FINAL THOUGHTS
I think this was a really good introduction to Houdini for me. I learned how to rig and how to create simulations that react to the animations I make. I also learned about the workflow for building complex, visually interesting scenes in Houdini. I can see how Houdini could be a powerful tool for creating beautiful, realistic VFX.